How to Implant the ReTAP AV Graft®
Step 1: Tunneler Sizing
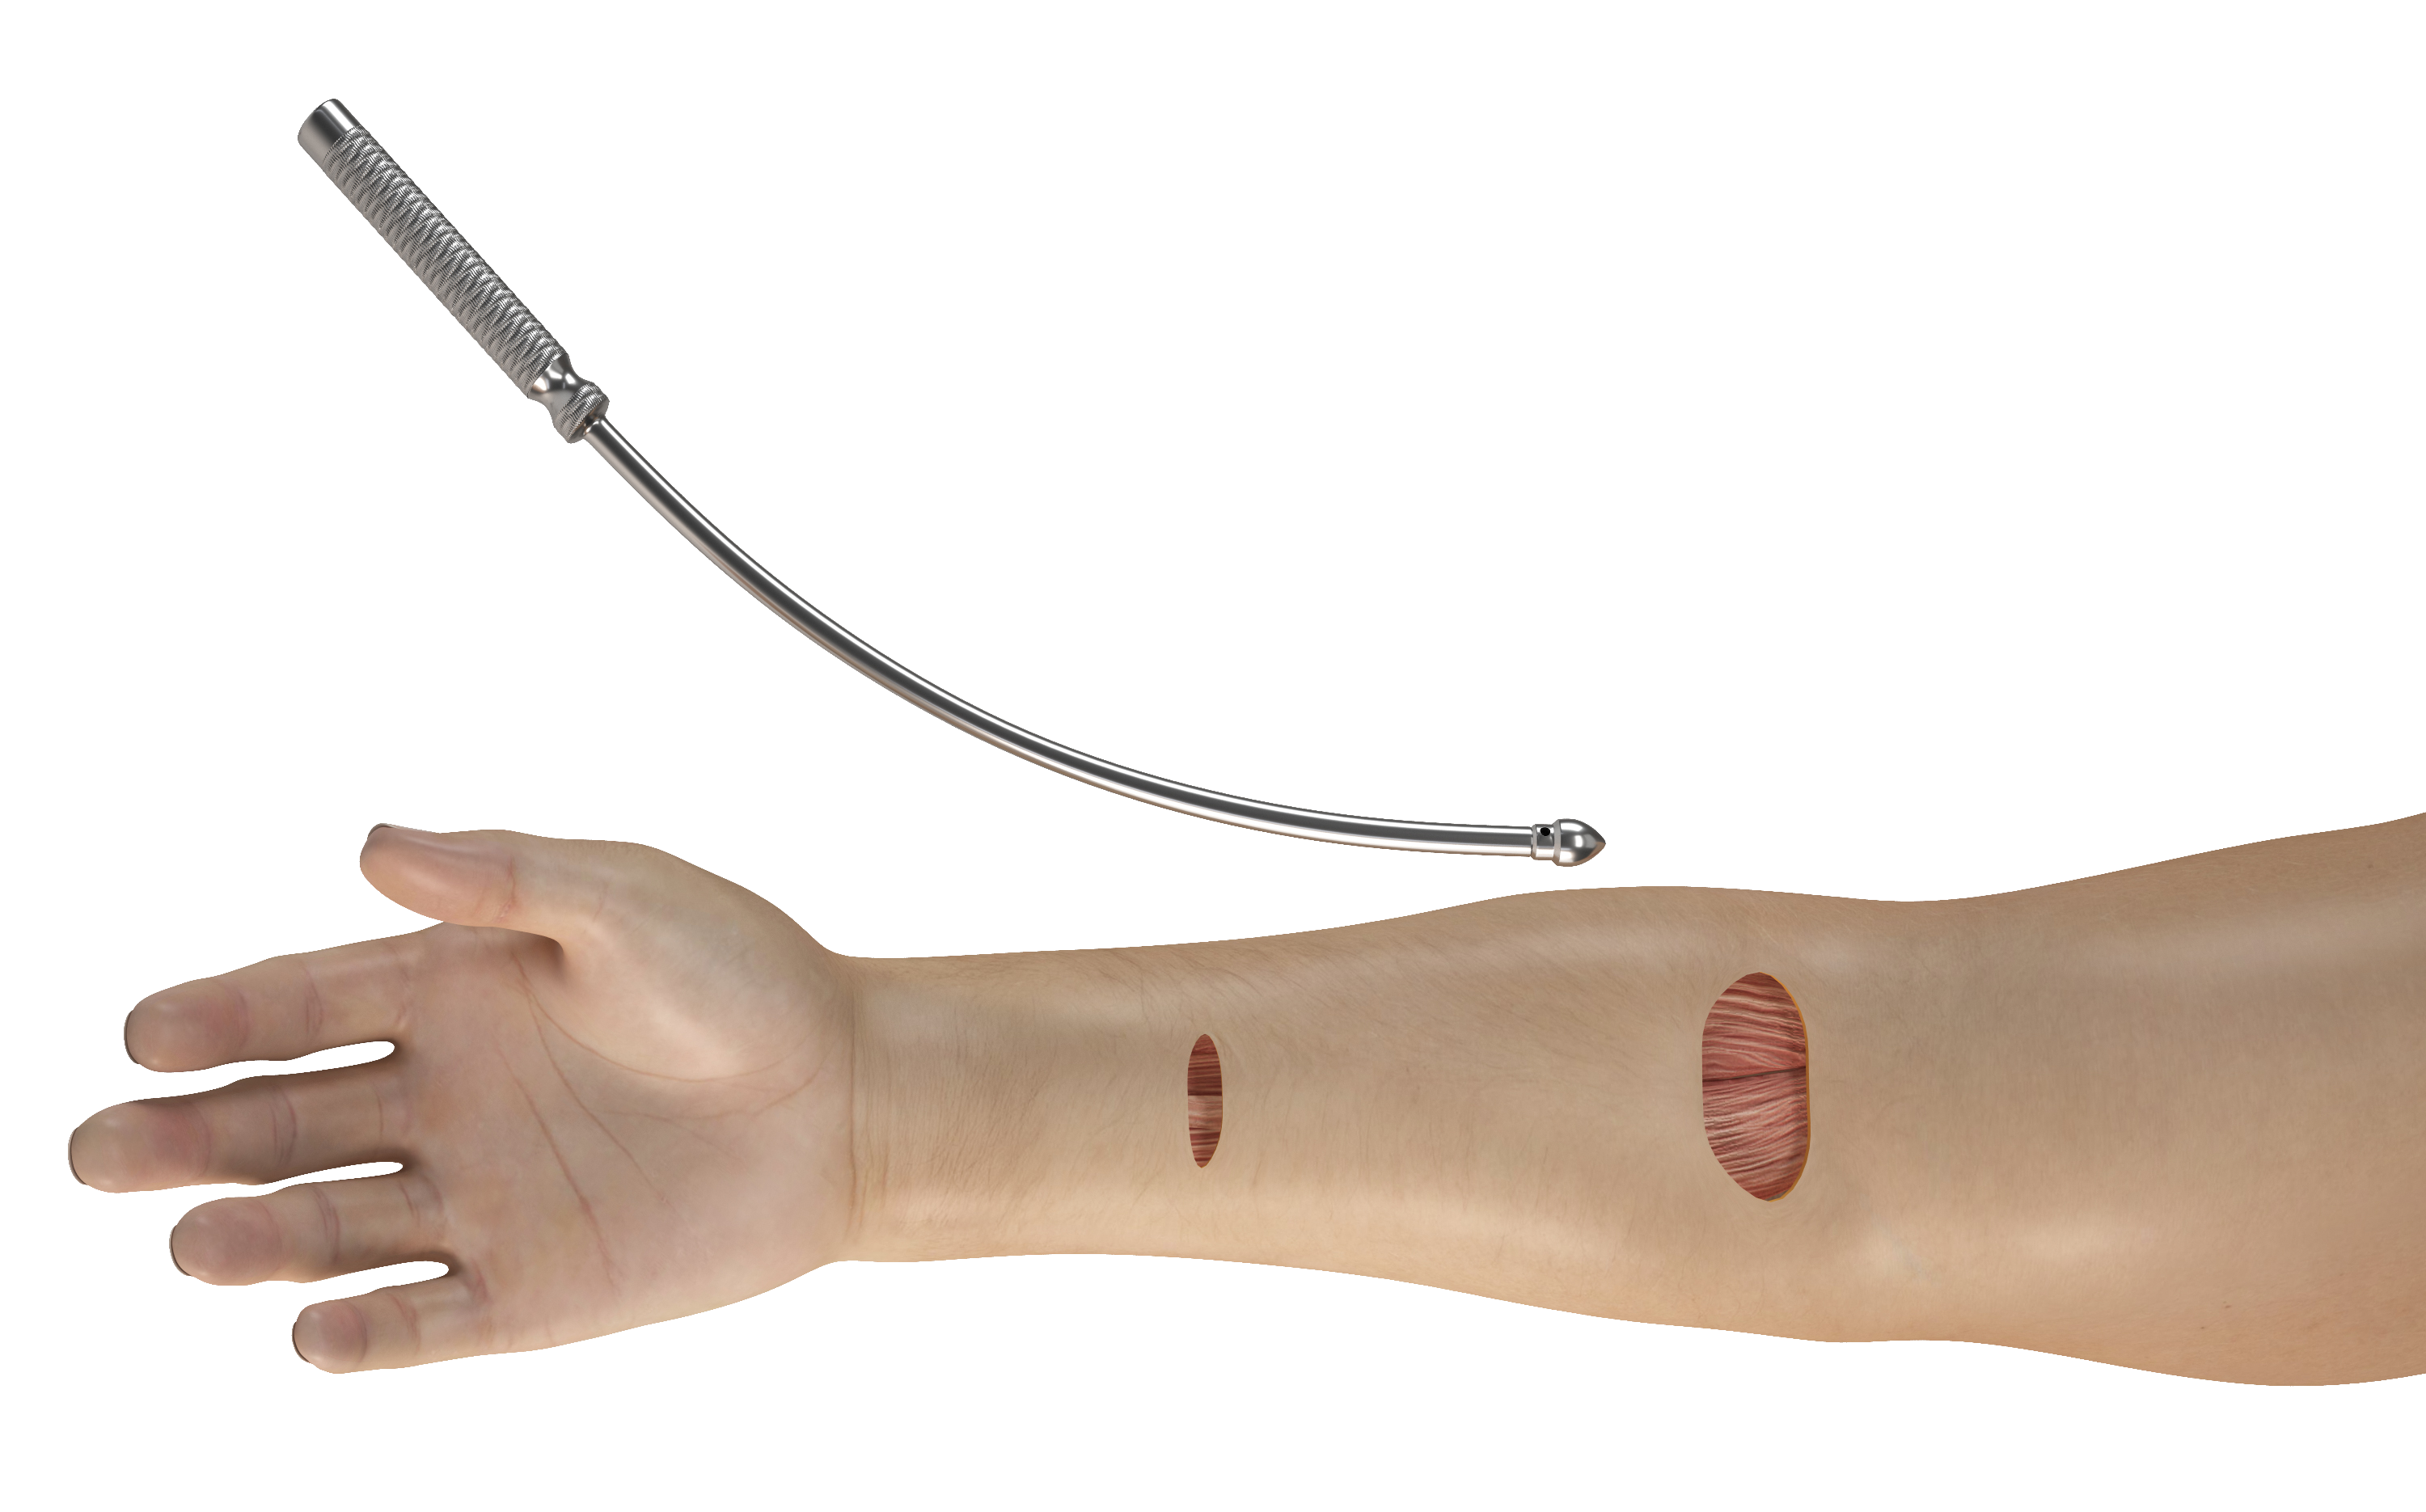
- Select a bullet tip 2-3 mm larger than the internal diameter of the graft to allow free passage of the spiral beading and ReTAP cannulation zone(s) through the tunnel.
Rule of Thumb: Bullet Tip Diameter = Graft Inner Diameter + (2 or 3 mm)
Step 2: Create the Tunnel
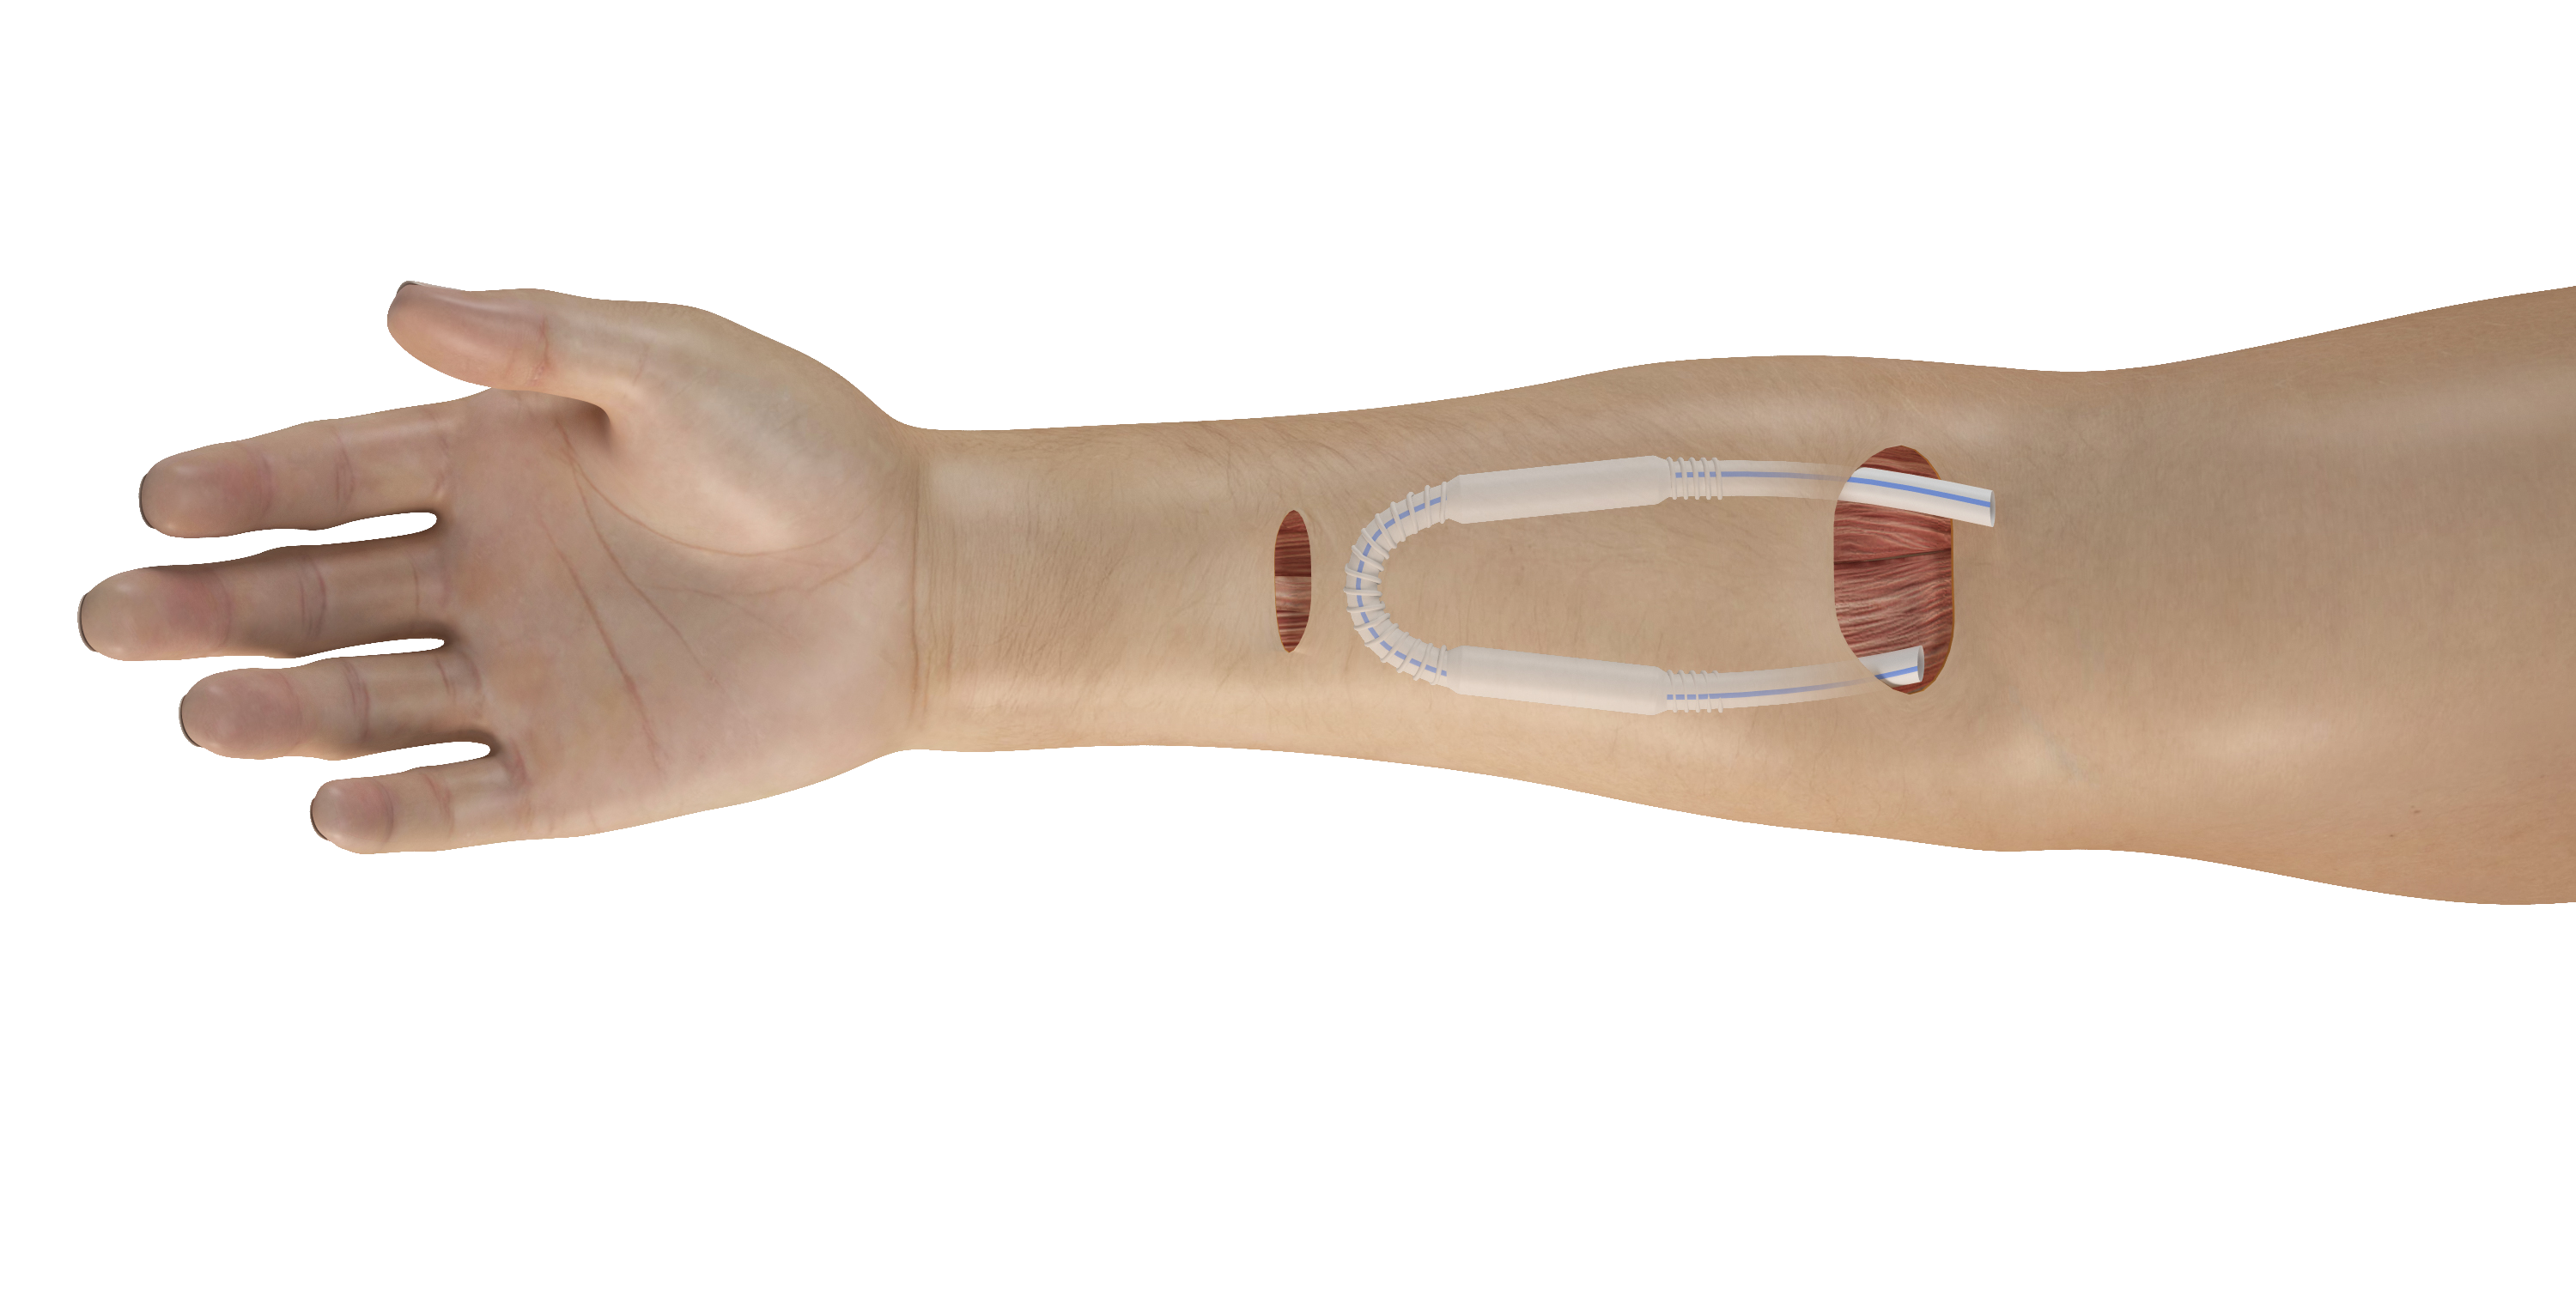
(Example shown is a looped graft configuration)
- Prior to the creation of the tunnel, the graft should be placed on the arm between the proposed anastomoses to ensure sufficient length and placement of the ReTAP cannulation zone. The location of the ReTAP cannulation zone should be optimized for its use in dialysis access.
- A sterile marker can be used to mark the proposed course of the tunnel. The tunnel should be created to ensure the ReTAP cannulation zone of the graft can be palpated (less than 6mm from the surface of the skin).
- After the tunnel is created, it may be necessary to precondition the tunnel by use of a digit to break up connective tissue to reduce resistance when pulling the graft through the tunnel.
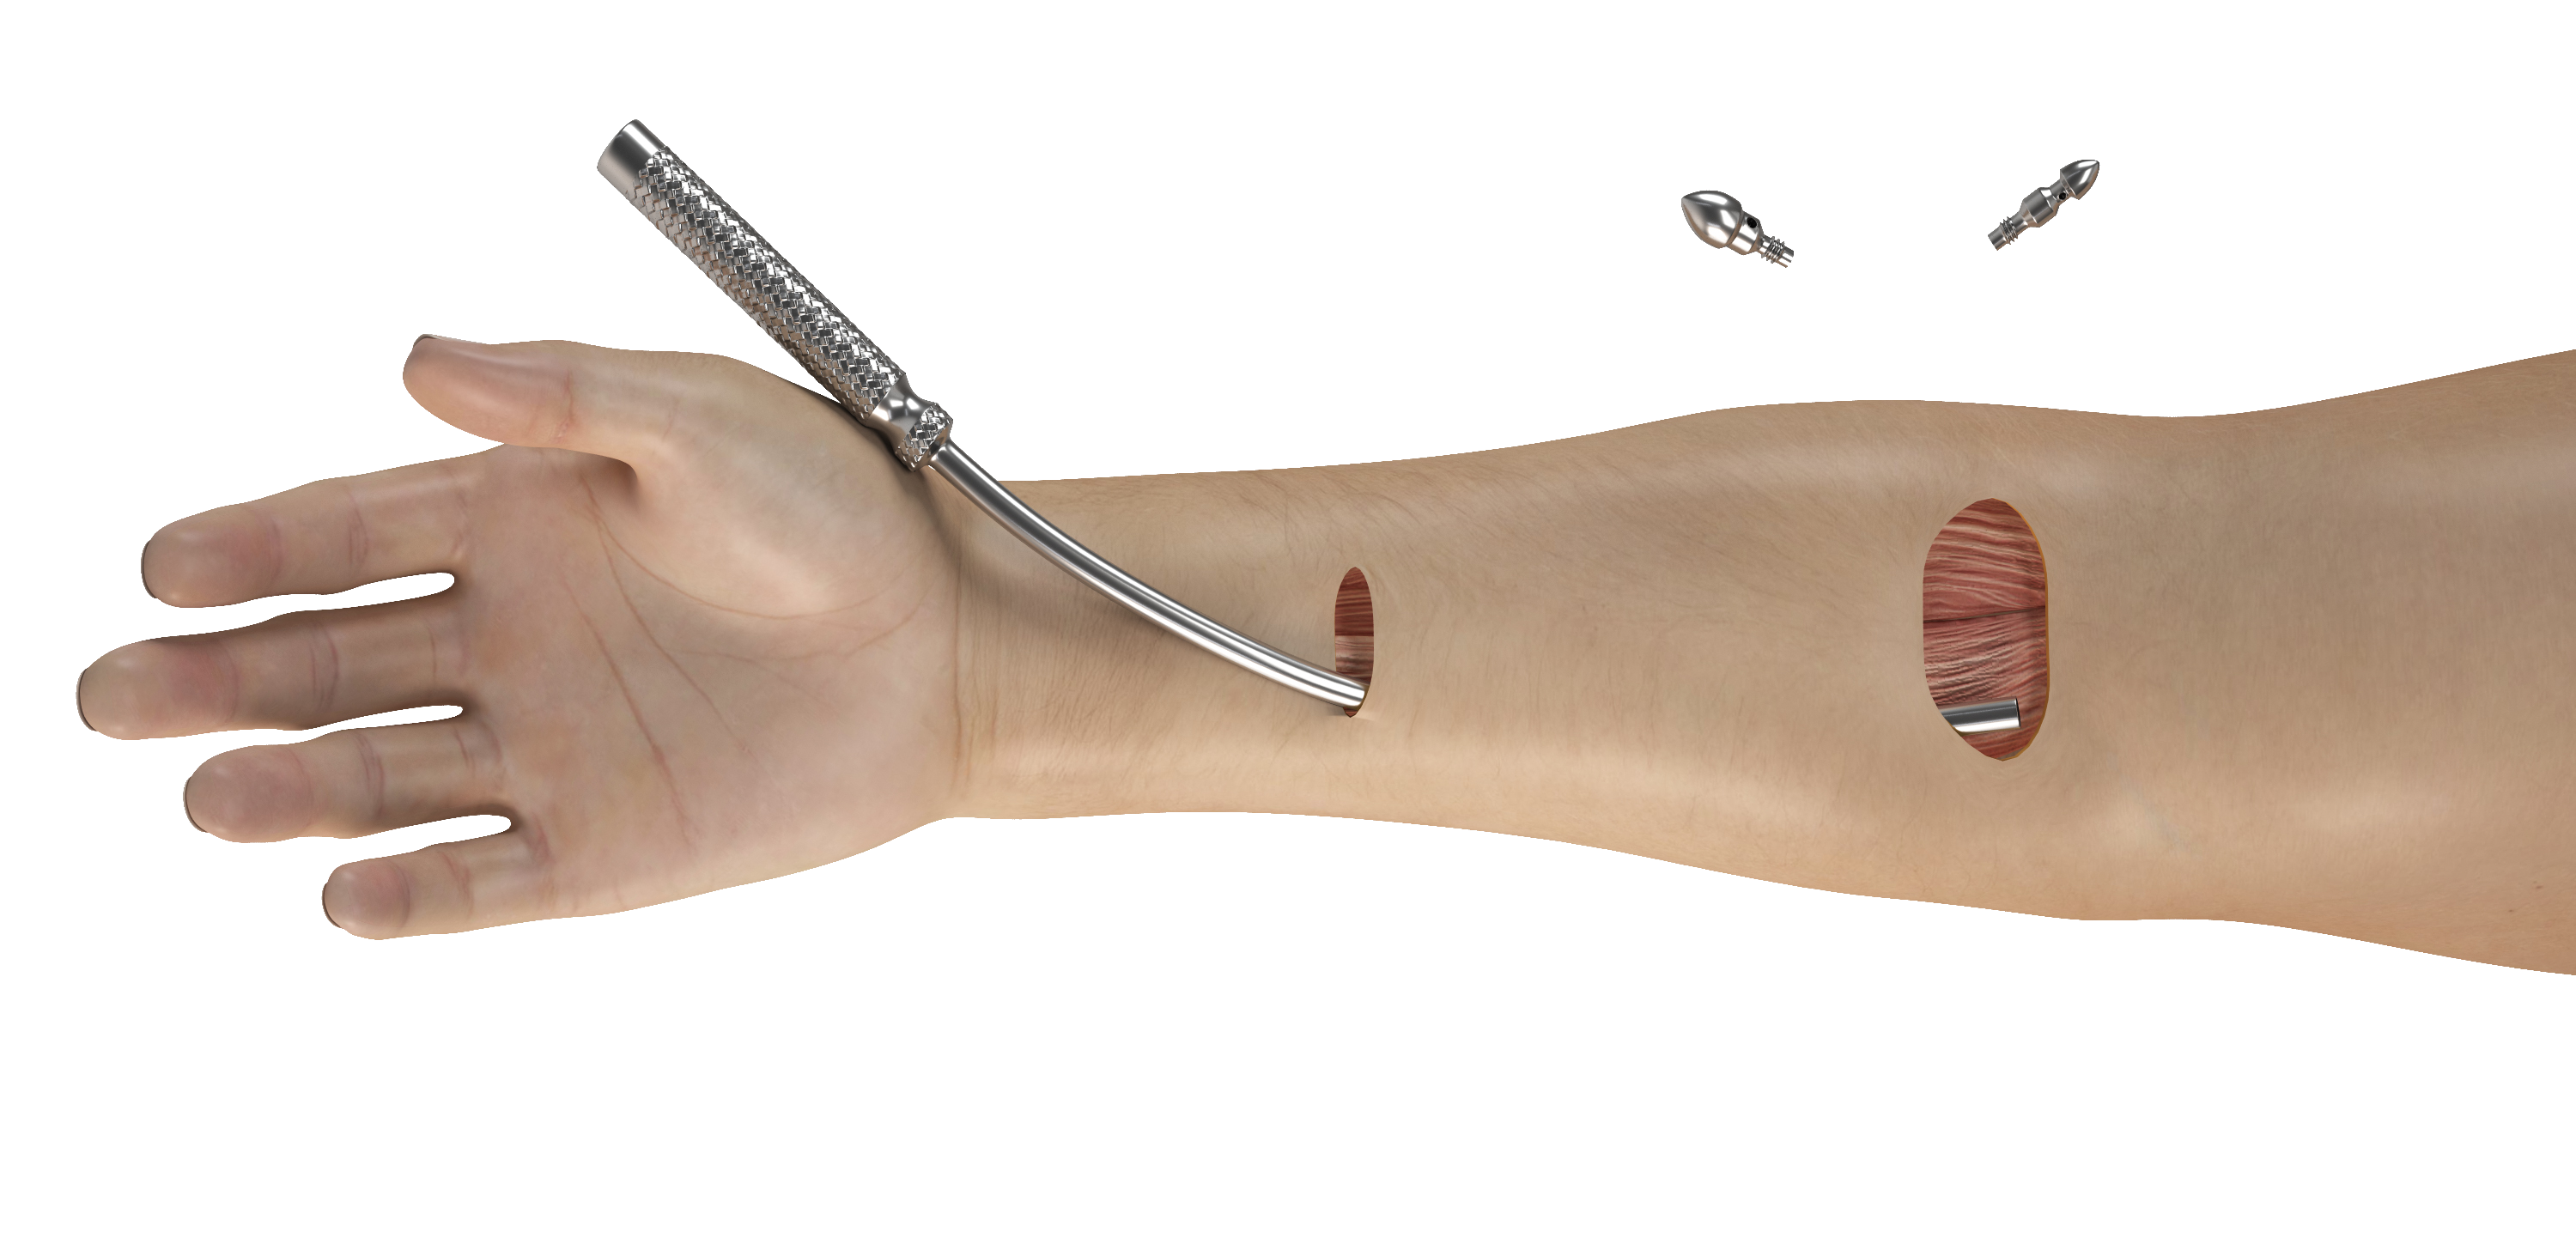
- After preconditioning the tunnel, use a bullet tip with the same size (or smaller) as the inner diameter of the graft to affix the graft to the tunneler.
Step 3: Pull the ReTAP AV Graft Through the Tunnel and Position
- Do not use excessive force when pulling a device into the subcutaneous tunnel, otherwise the spiral beading support may delaminate.
- When implanting a 4-7mm tapered graft, pull by the tapered end into the subcutaneous tunnel.
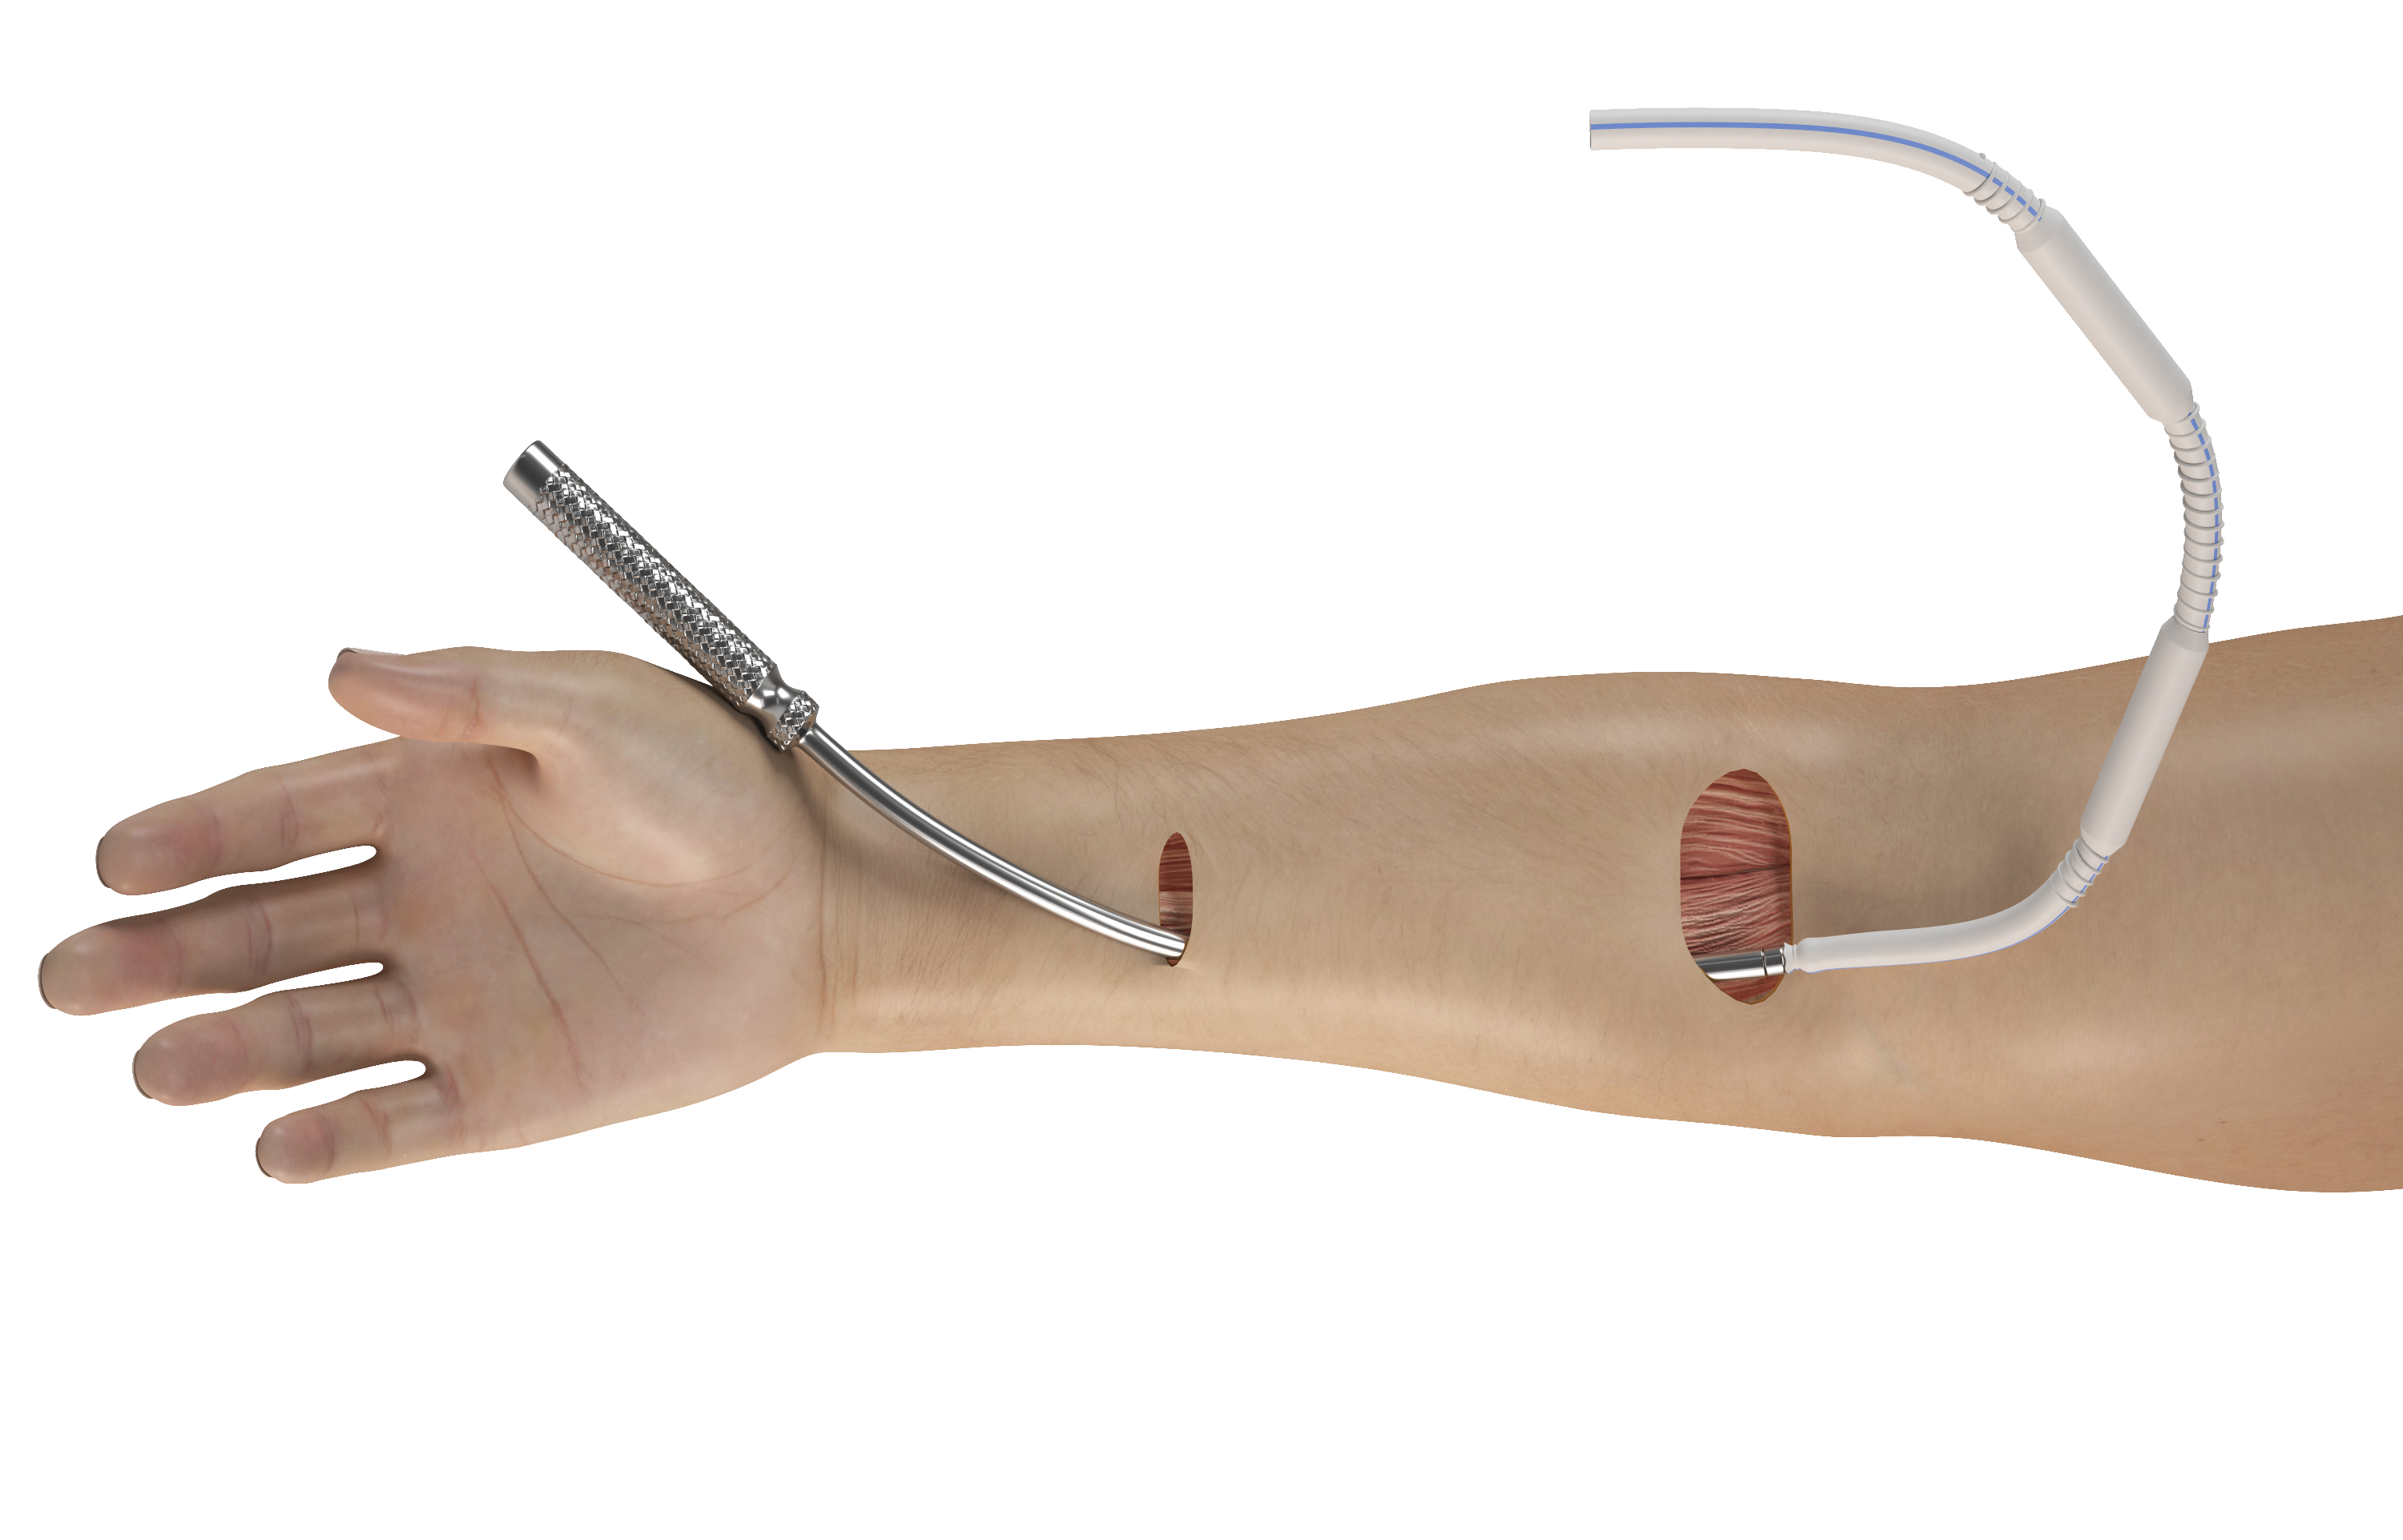
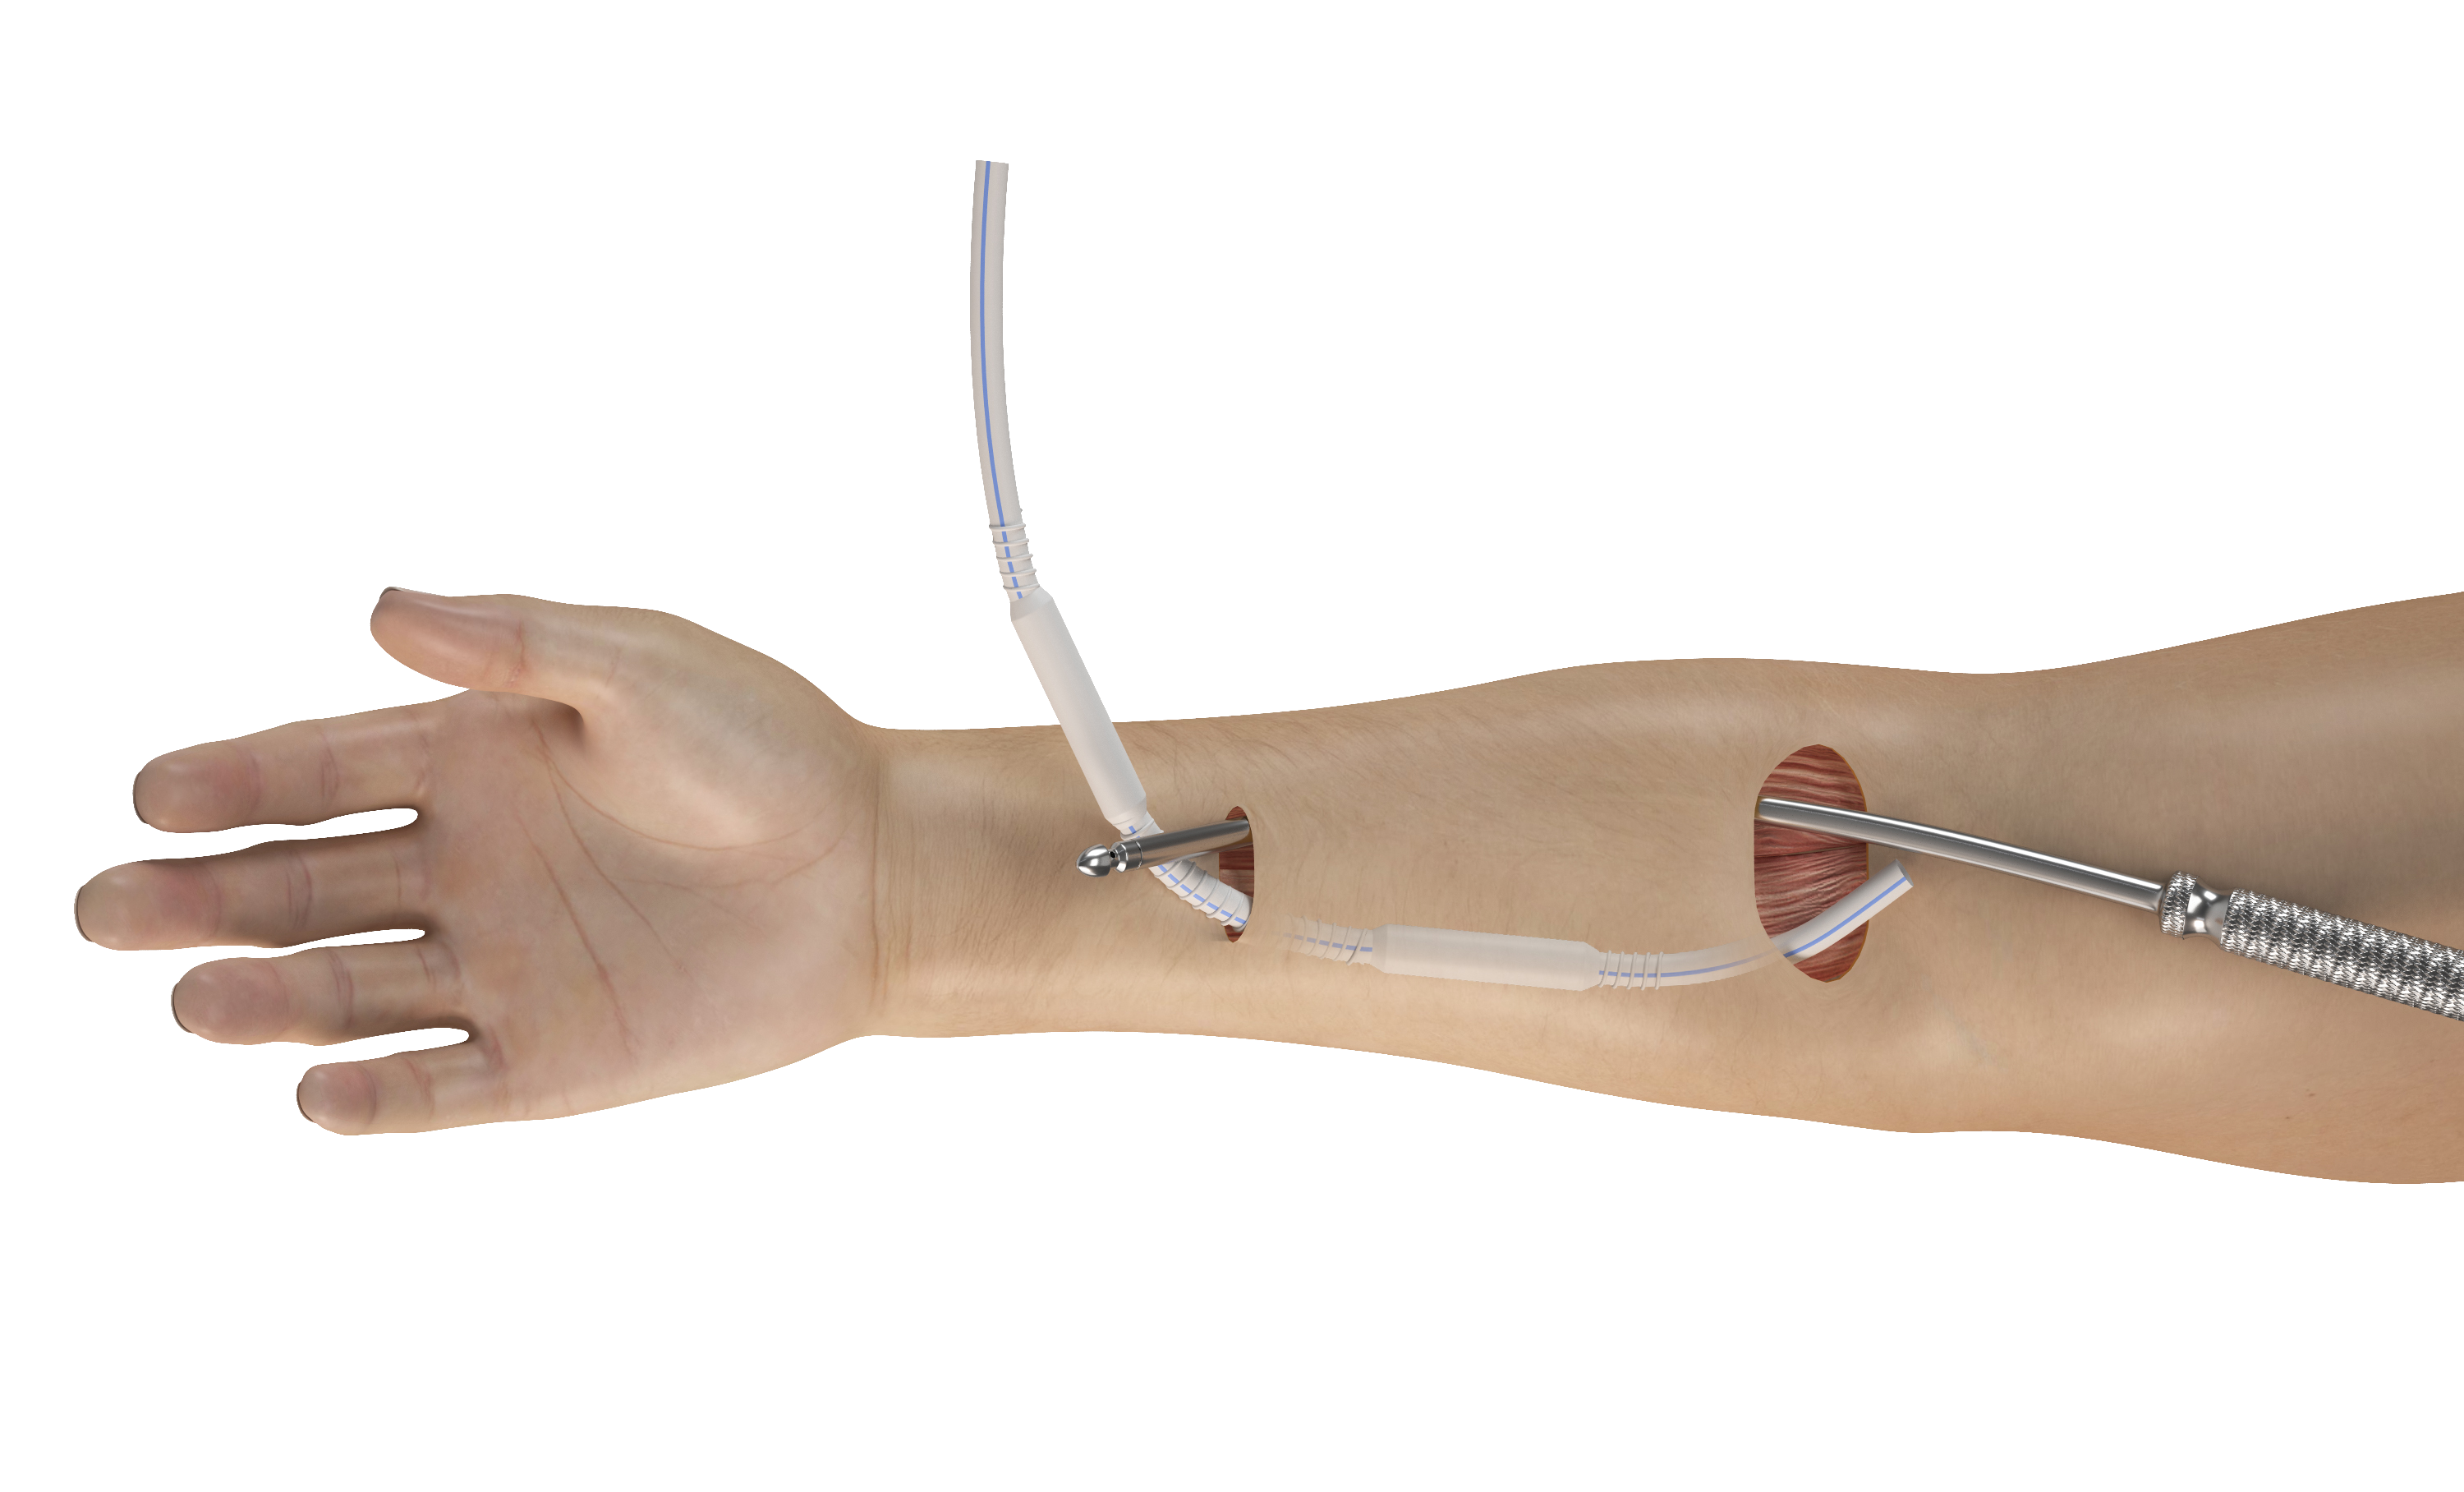
1. Attach graft to tunneler and then pull the graft through the tunnel. Take care to avoid kinking the graft.
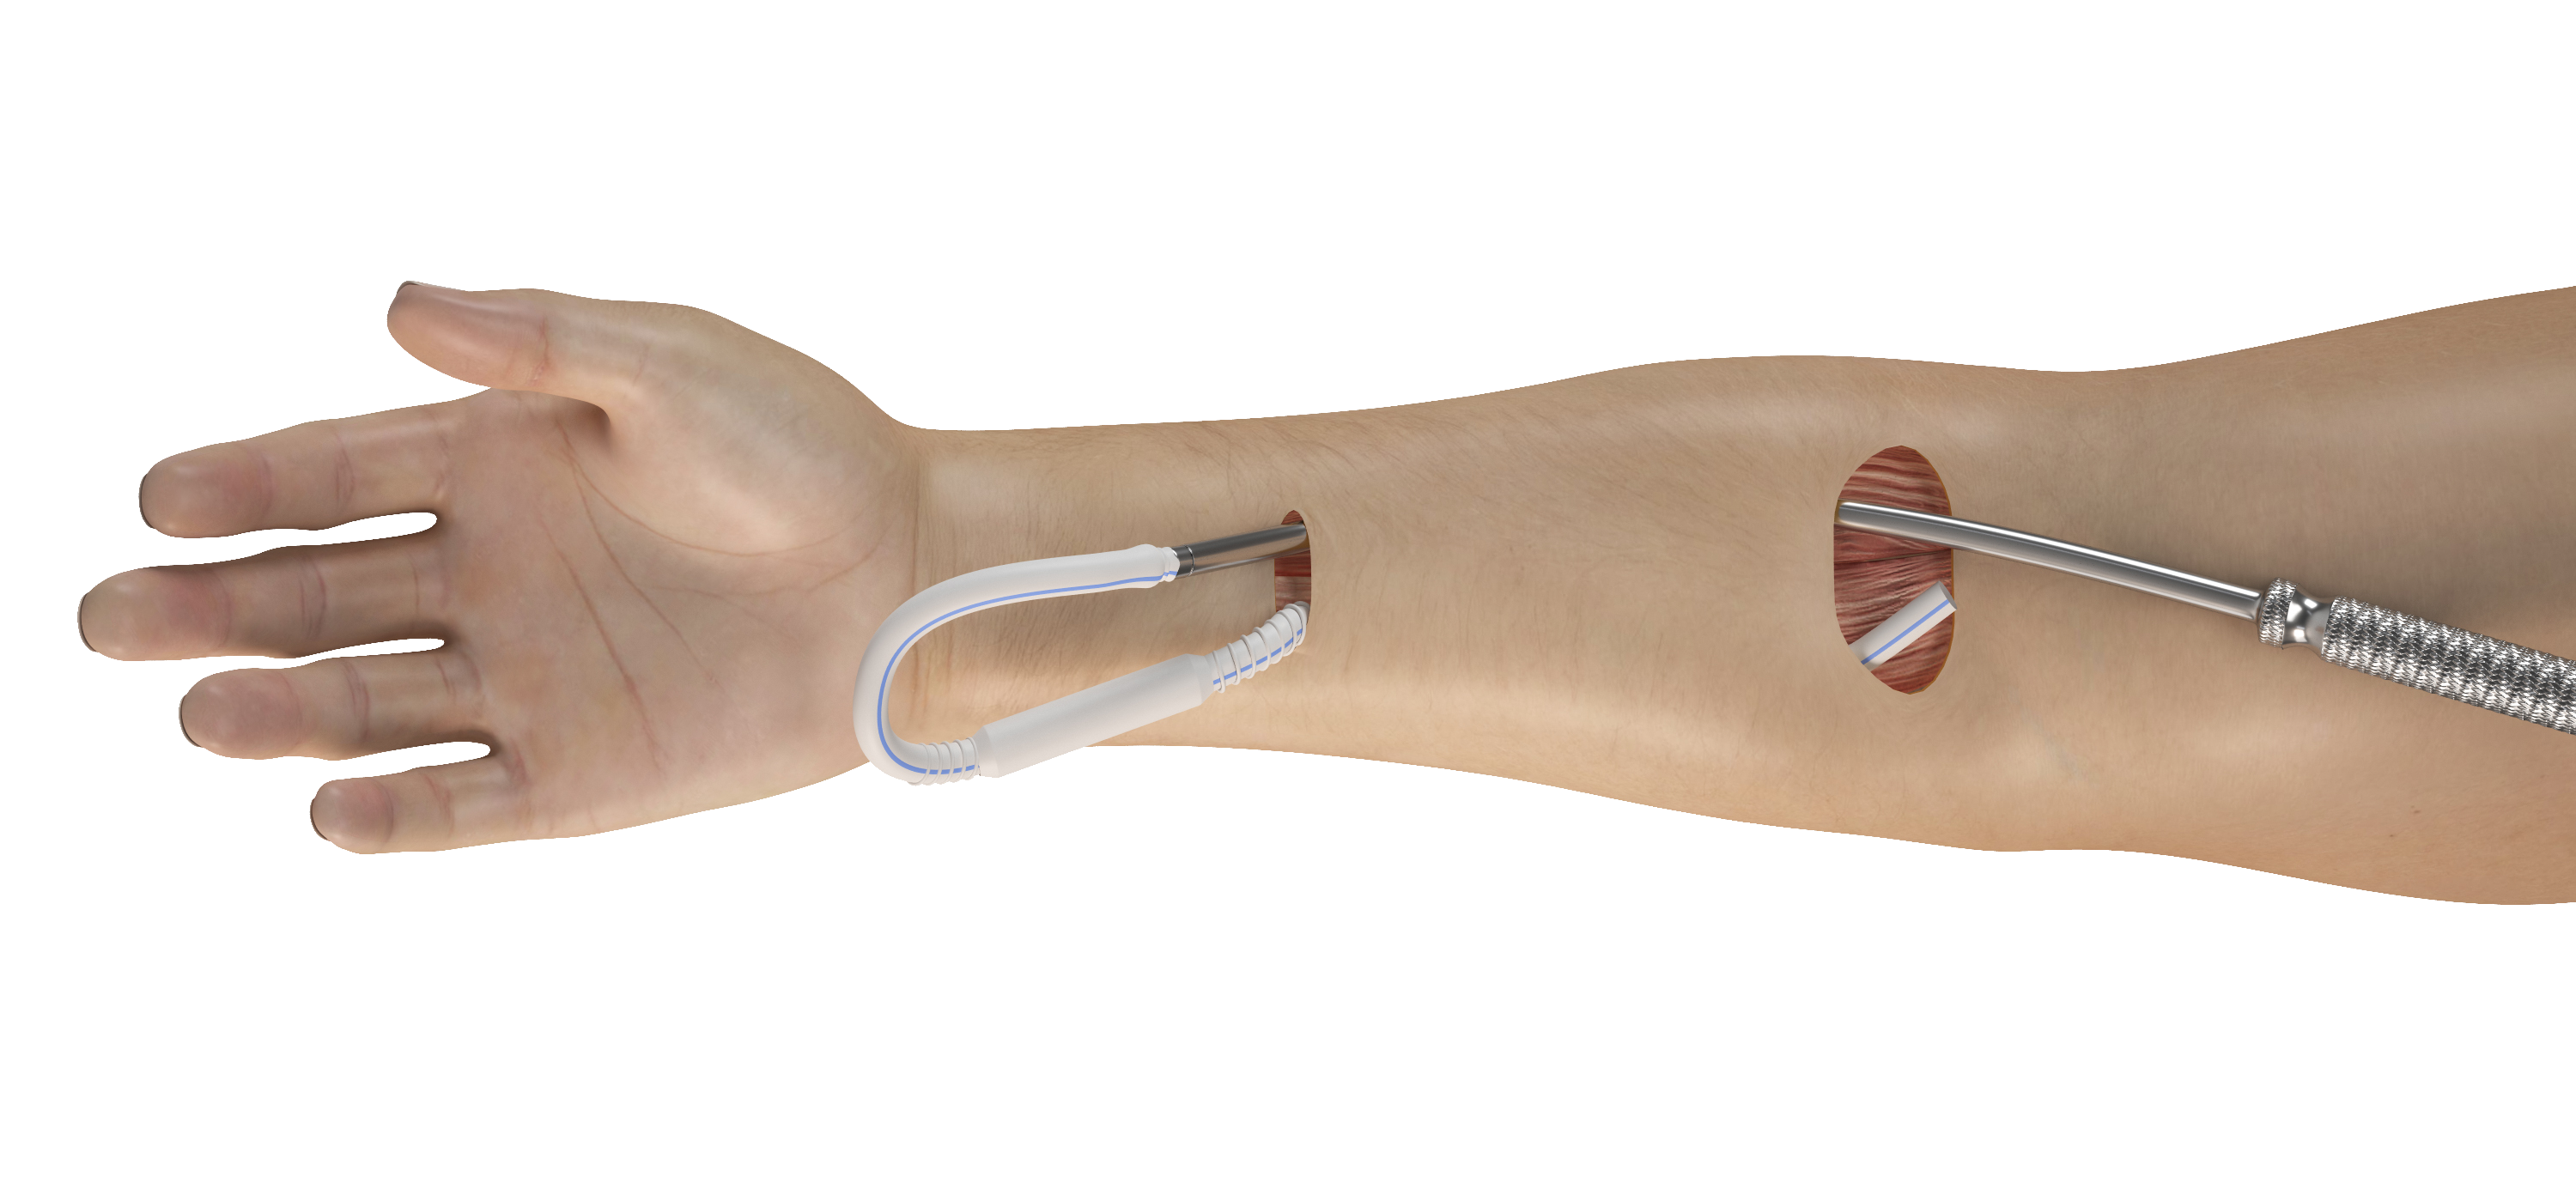
3. Pull 2nd half of graft through tunnel – remove tunneling tip and reattach graft to tunneler and pull through the tunnel.
Note: The ReTAP AV Graft does not stretch longitudinally. Ensure appropriate graft length for range of motion prior to cutting.
- Position the cannulation zone(s) within the tunnel(s) to enable easy access for cannulation.
- Size the graft length appropriately to minimize tension at the suture line to prevent elongation of the suture holes.
- Shorten graft by cutting non-beaded ePTFE sections only; do not cut the beaded sections or ReTAP cannulation zone(s). Any attempt to remove beading may damage the graft wall.
- Leave a minimum of approximately 3 cm of graft between the ReTAP cannulation zone(s) and each anastomosis.
- Use nonabsorbable monofilament suture of a size appropriate for the nature of the reconstruction. Use a tapered non-cutting needle to avoid damaging the graft.
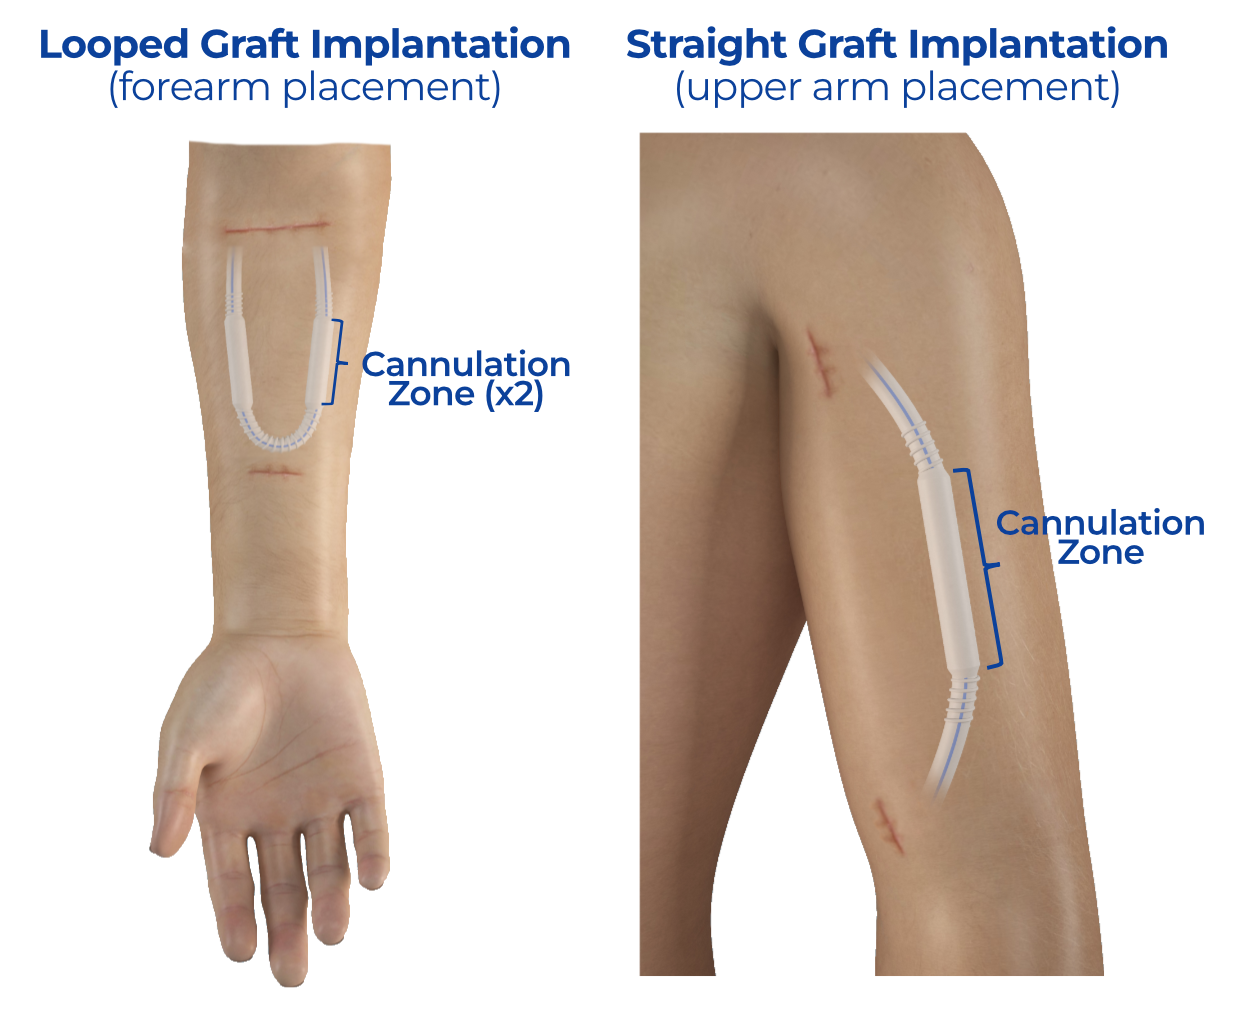
Each version of the ReTAP AV Graft can be implanted in either the lower arm, the upper arm or the leg.
